Session 27: HTML Input Forms
This page draws on material created by David Humphrey.
Download this starter code to use during the session.
Supporting User Input with Forms
We spent the three weeks before break looking at events on a web page. Events are one way users can interact with a page, mediated by JavaScript.
HTML itself provides many ways for users to interact with a page. The most fundamental of these is to enter data in a textbox.
Last time, we saw a simple example: adding a search box to a web page.
<input placeholder="search term"></input>
Today we learn how to use input and
form elements to create different kinds of user
input, re-creating a few familiar examples along the way.
The Input Element
Here is a simple demo page we can use to work through some basic features:
-
By default, text boxes render small. For demo purposes,
let's add
class="bigger"to increase display size.<input class="bigger"> .bigger { width: 200px; height: 30px; } -
Add a second
inputelement. They are inline. We can use CSS to change layout and display, or place it in a block element likediv.input { display: block; // or put input in a div } -
Enter some text and open the browser's console.
document.querySelector('input').value -
The
typeattribute defines the kind of data the user will enter. There are many. The simplest istext.type="text"
-
The
nameattribute defines the name associated with the data value entered by the user.name="numOfVisitors"
-
We've already seen the
valuedata property. We can use it as an attribute to define a default value.value="2"
-
Giving the element an
idandclassis also common, so that we can target the element with CSS and JavaScript. Thenameattribute is not a valid CSS selector.id="numOfVisitors"
-
The
typeattribute can take many different values, to help the browser support the different kinds of data users need to enter.type="number" type="date" type="time" type="color" // check its value in the console
On mobile devices, support forurlandemailincludes custom keyboards. -
The
autocompleteattribute browser help the user with specific auto-completions.autocomplete="family-name" autocomplete="given-name" autocomplete="username"
-
Try
autofocuswith two text boxes, andtabindexwith three.<input><input autofocus> <input tabindex=3><input tabindex=1><input tabindex=2>
There are more, including a list attribute for defining a dropdown menu of options. Check them out when creating a new kind of form.
An Example: Search on the UNI Home Page
Let's use what we've learned to build a facsimile of the search form on UNI home page:
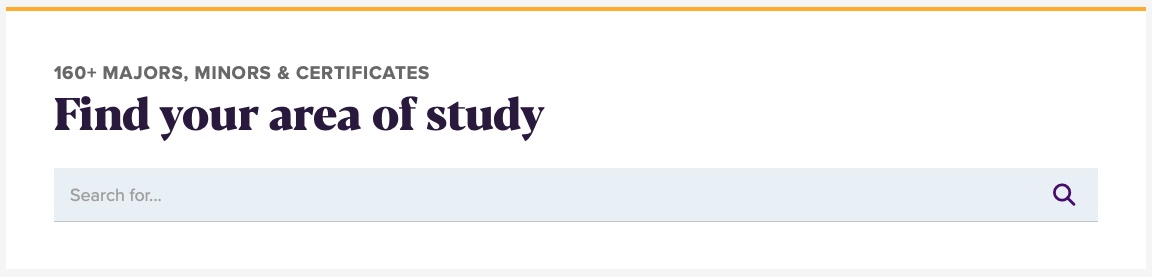
We'll start from the base code: [ HTML | CSS ].
Add the two headers (pre-styled).
<h2>160+ Majors, Minors & Certificates</h2>
<h1>Find your area of study</h1>
Add the input element:
<input
  id="major-search" class="form"
  type="text" name="search" value="" autocomplete="off"
>
Now let's add a couple of new features the UNI search box has.
The placeholder attribute tells the browser to
display some initial text in the field. The value of the
placeholder appears in light gray and is a hint to the user
of what they should type in the field.
<input
  ...
  placeholder="Search for..."
>
The title attribute tells the browser to display
help text to users when they (hover over the box).
<input
  ...
  title="Enter the terms you wish to search for."
>
Now let's style the form. (We'll talk much more about styling forms next time.)
.form {
  width: 100%;
  height: 42px;
  background-color: rgb(227, 243, 248);
  border: 0;

  font-size: 18px;
  color: purple;
  padding: 10px;
}
What about the magnifying glass icon? In Session 10, we saw that Font Awesome defines freely available icons for use as custom fonts on our pages. It's style sheet is pre-loaded at the top of the CSS file.
-
Add an
ielement to the HTML to display the icon.<i class="fa fa-search" id="search-icon"></i>
-
The
search-iconid lets us style the size of the magnifying glass:#search-icon { font-size: 24px; }
Finally, let's position the icon at the end of the search box. We saw examples of this in Session 11.
-
Make the
.formclass a relative container..form { ... position: relative; } -
Add code to position the
#search-icon. Make it absolute and give it coordinates relative to the.form.#search-icon { ... position: absolute; top: 130px; right: 5px; }
The result looks pretty good: [ HTML | CSS ].
What does the HTML look like on UNI's site? Complicated.
Here is
a cleaned up version
that shows some of the complexity but is easier to read than
the actual code. Focus on the input element.
An Example: Google Search Home Page
This week's reading looks at two examples, including one of the most-visited page on the web: the Google home page
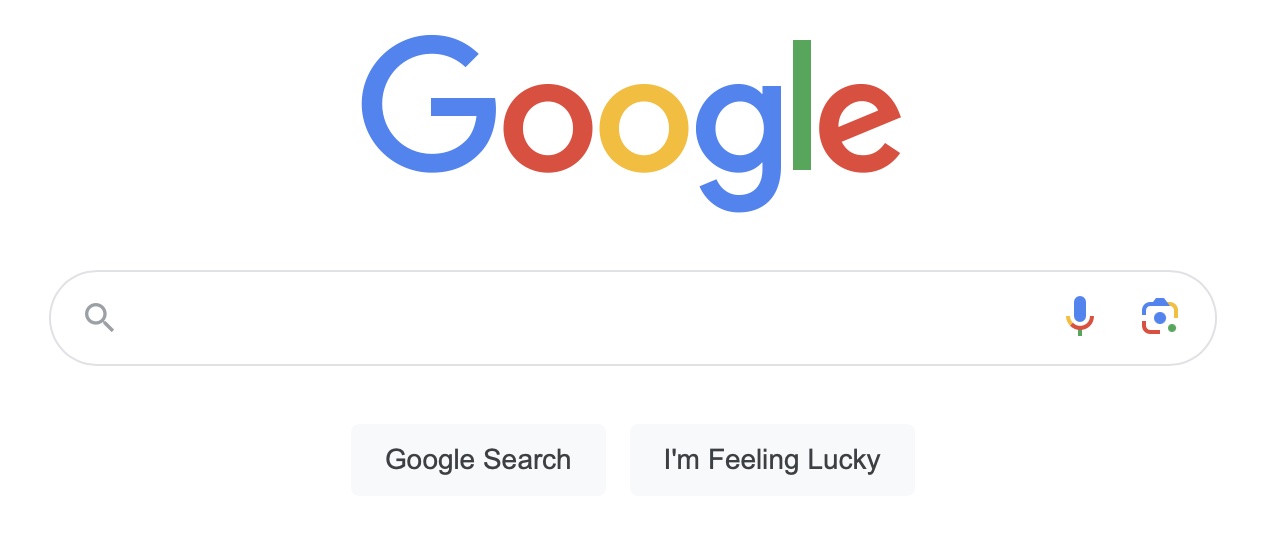
What does the HTML look like on Google's's site? It's complicated. Here is a cleaned up version, with light styling via this CSS file.
form is a container for almost anything, but
especially various input and other form elements.
The action attribute says where the data goes upon
submission. It is a relative or absolute path.
The method attribute says how submission occurs:
- "#" means the data is processed locally, say, by JavaScript.
- "POST" means the data goes in the body of the HTTP request. More later.
- "GET" means the data goes in the query string. It is the default.
The data is encoded in
?name1=value1&name2=value2... form. There are
benefits to this approach: data is visible and easy to
understand. There are also drawbacks: URLs are limited in
size, and visibility is a negative when data is private.
I didn't bother to position the icon this time.
The search box has a title. Hover.
The buttons are input elements of type
submit. The browser renders them as buttons!
There is one new thing here: type="hidden".
These do not show in the page, but define data to be submitted
with the form, as name/value pairs. Think of them as
"constants" defined by the page, for use by the server.
An Exercise: UNI Single Sign-On
This form is familiar to all UNI students: the CatID login screen used to access all university resources:
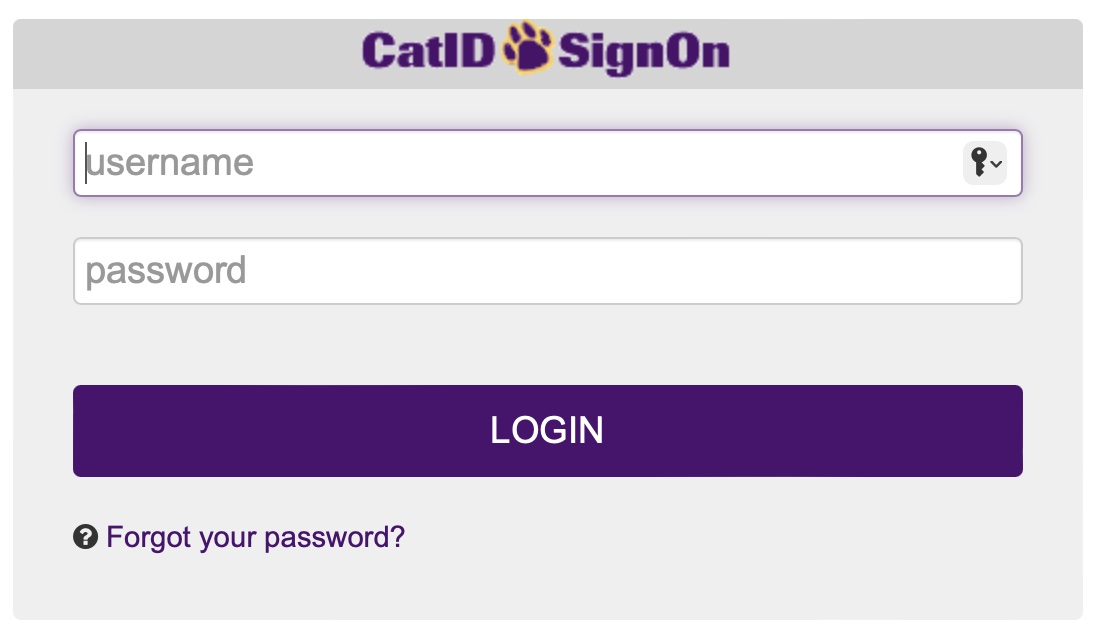
Do your work in this HTML file.
The CatID SignOn logo is in the starter code folder. It is pre-loaded into the HTML file and styled in the CSS file.
The question mark icon is pre-loaded into the HTML file and styled in the CSS file.
The CSS file defines simple styles for the
form and label elements.
The CSS file also defines a style for #btn.
Use an id of btn for the element that
implements your button. You can add more CSS to style
the button to match the UNI form.
Recall that Panther Purple is rgb(80, 7, 120).
A Solution
This is a solution based on the HTML on UNI's web page: [ HTML | CSS ]
My solution has a few features that yours might not. It gives us a chance to learn a bit more about forms and how they are processed in a web page.
Let's focus on the three parts inside the form: the two text fields and the button, and especially on the parts that differ from the Google example.
Each text input is accompanied by a new HTML element, a
label. The purpose of a label is to
give a caption to the associated input, which is
named in the for="..." attribute.
Note, though, that each label is styled as
display: none,
so it does not show in the browser unless some CSS or
JavaScript changes the value of that display attribute. Why
do this? Sighted users do not need the label, because the
text boxes have placeholder values that give the
same information. However, screen readers do not read the
value of the placeholder, but they do read the
label element.
The password input control is not of type
type, but rather password.
This tells the browser to hide the characters that the user
enters. In a desktop browser, this often means using
• for every character. On a mobile device,
each character is typically shown for a second and then replaced
by the •.
The autocomplete="off" attribute is again used to
tell the browser not to try to fill-in the contents of the
field automatically. Many browsers ignore this request, though,
now that
password managers
have become so common.
All three input controls have a tabindex
attribute. The value of this attribute tells the browser the
order in which to "jump" from one control to another when the
user hits the tab key. This is useful information for users
who use the keyboard more than the mouse to navigate the page,
including those who are visually impaired. In this example,
the username field comes first, the password field second, and
the LOGIN button third. Furthermore, the username input
control has the attribute autofocus, which tells
the browser to open the page with the cursor in this field.
Finally, consider the "Forgot your password?" region at the
bottom of the window. This not part of the HTML form but
instead is a block-level element containing a custom icon
(indicated by the class fa-question-circle) and
a link. In the UNI form, the href invokes a
JavaScript function to initiate an action rather than
connecting to another page.
Now, notice the <form> tag itself.
Firstly, it has an an onSubmit attribute that uses
JavaScript to ensure that the username is in lowercase
characters. Secondly, it uses method="POST"
instead of GET. This means that when the user
presses the button to submit the form, the data will be sent to
the login action path.
A POST differs from a GET in that
the form data is included in the body of the HTTP request,
instead of in the URL. If the user logs in with a
username of john and a
password of 123, the HTTP request
that is sent to the web server will resemble this simplified
text:
Host: uni.edu
Accept: text/html,application/xhtml+xml,application/xml;q=0.9,*/*;q=0.8
Content-Type: application/x-www-form-urlencoded
Content-Length: 50

action=login&login=Login&password=123&user_id=john
Notice that the body of the request, which begins after the
blank line, consists of the data produced by the form. They
are encoded as a set of name=value pairs,
separated by &s. This is similar to the
form they take in the URL under a GET.
One last note: the password is sent in plain text! Even
though the browser masked the password as the user entered it
into the password field, the password itself ends
up being sent to the server without being encrypted or altered
in anyway. This is important to understand, both as a user and
a developer, because users should only submit sensitive form
data to secure origins, that is, those using the
https protocol.
Closing
Zip up your folder and submit it using the link on the course home page.
The final project is live and due at the end of next week. Don't delay! You will want to make something you are proud of, and that will take time.