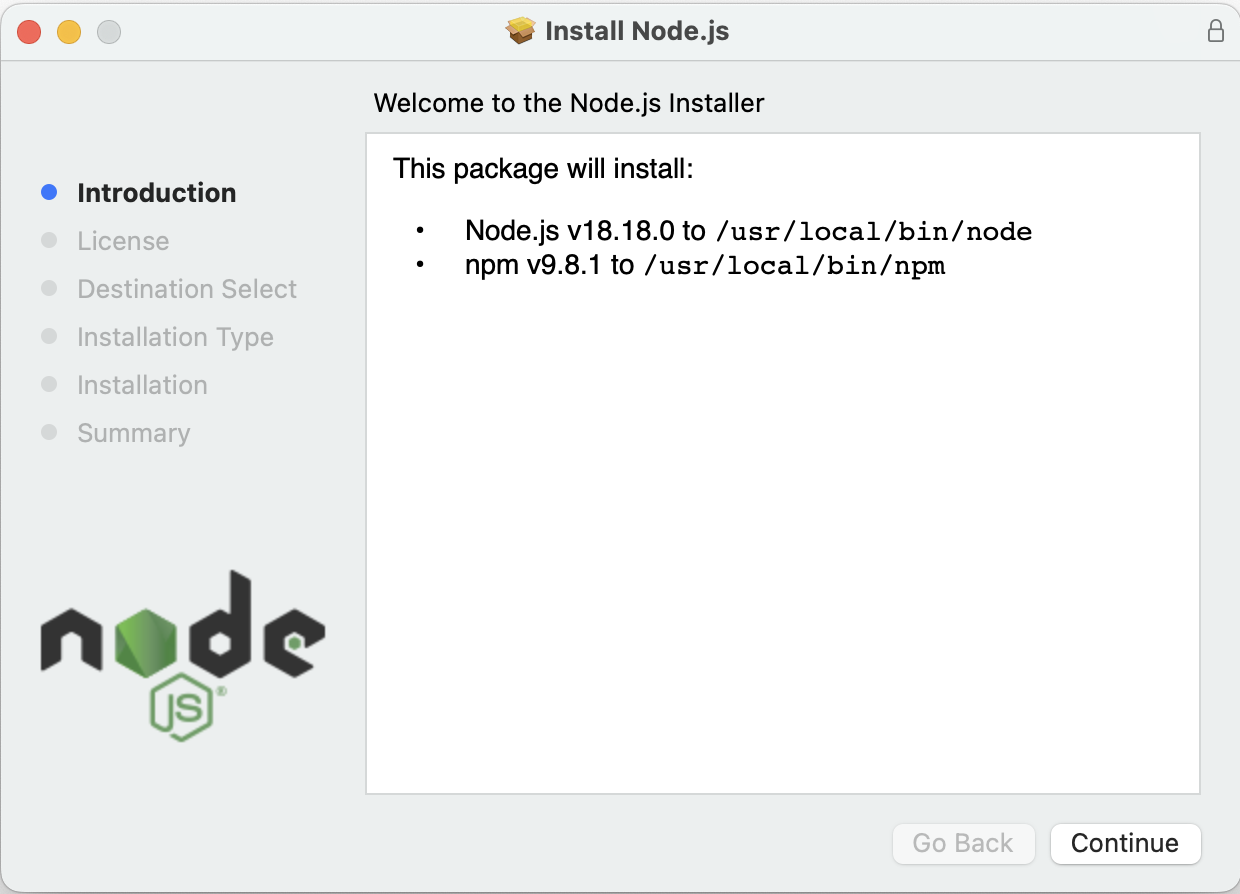
Installing Node.js
Installing node.js will make our experience learning and using JavaScript much more enjoyable.
Open the instructions for the OS you are running. If you use Linux and would like help, please le me know.
Installing on Windows
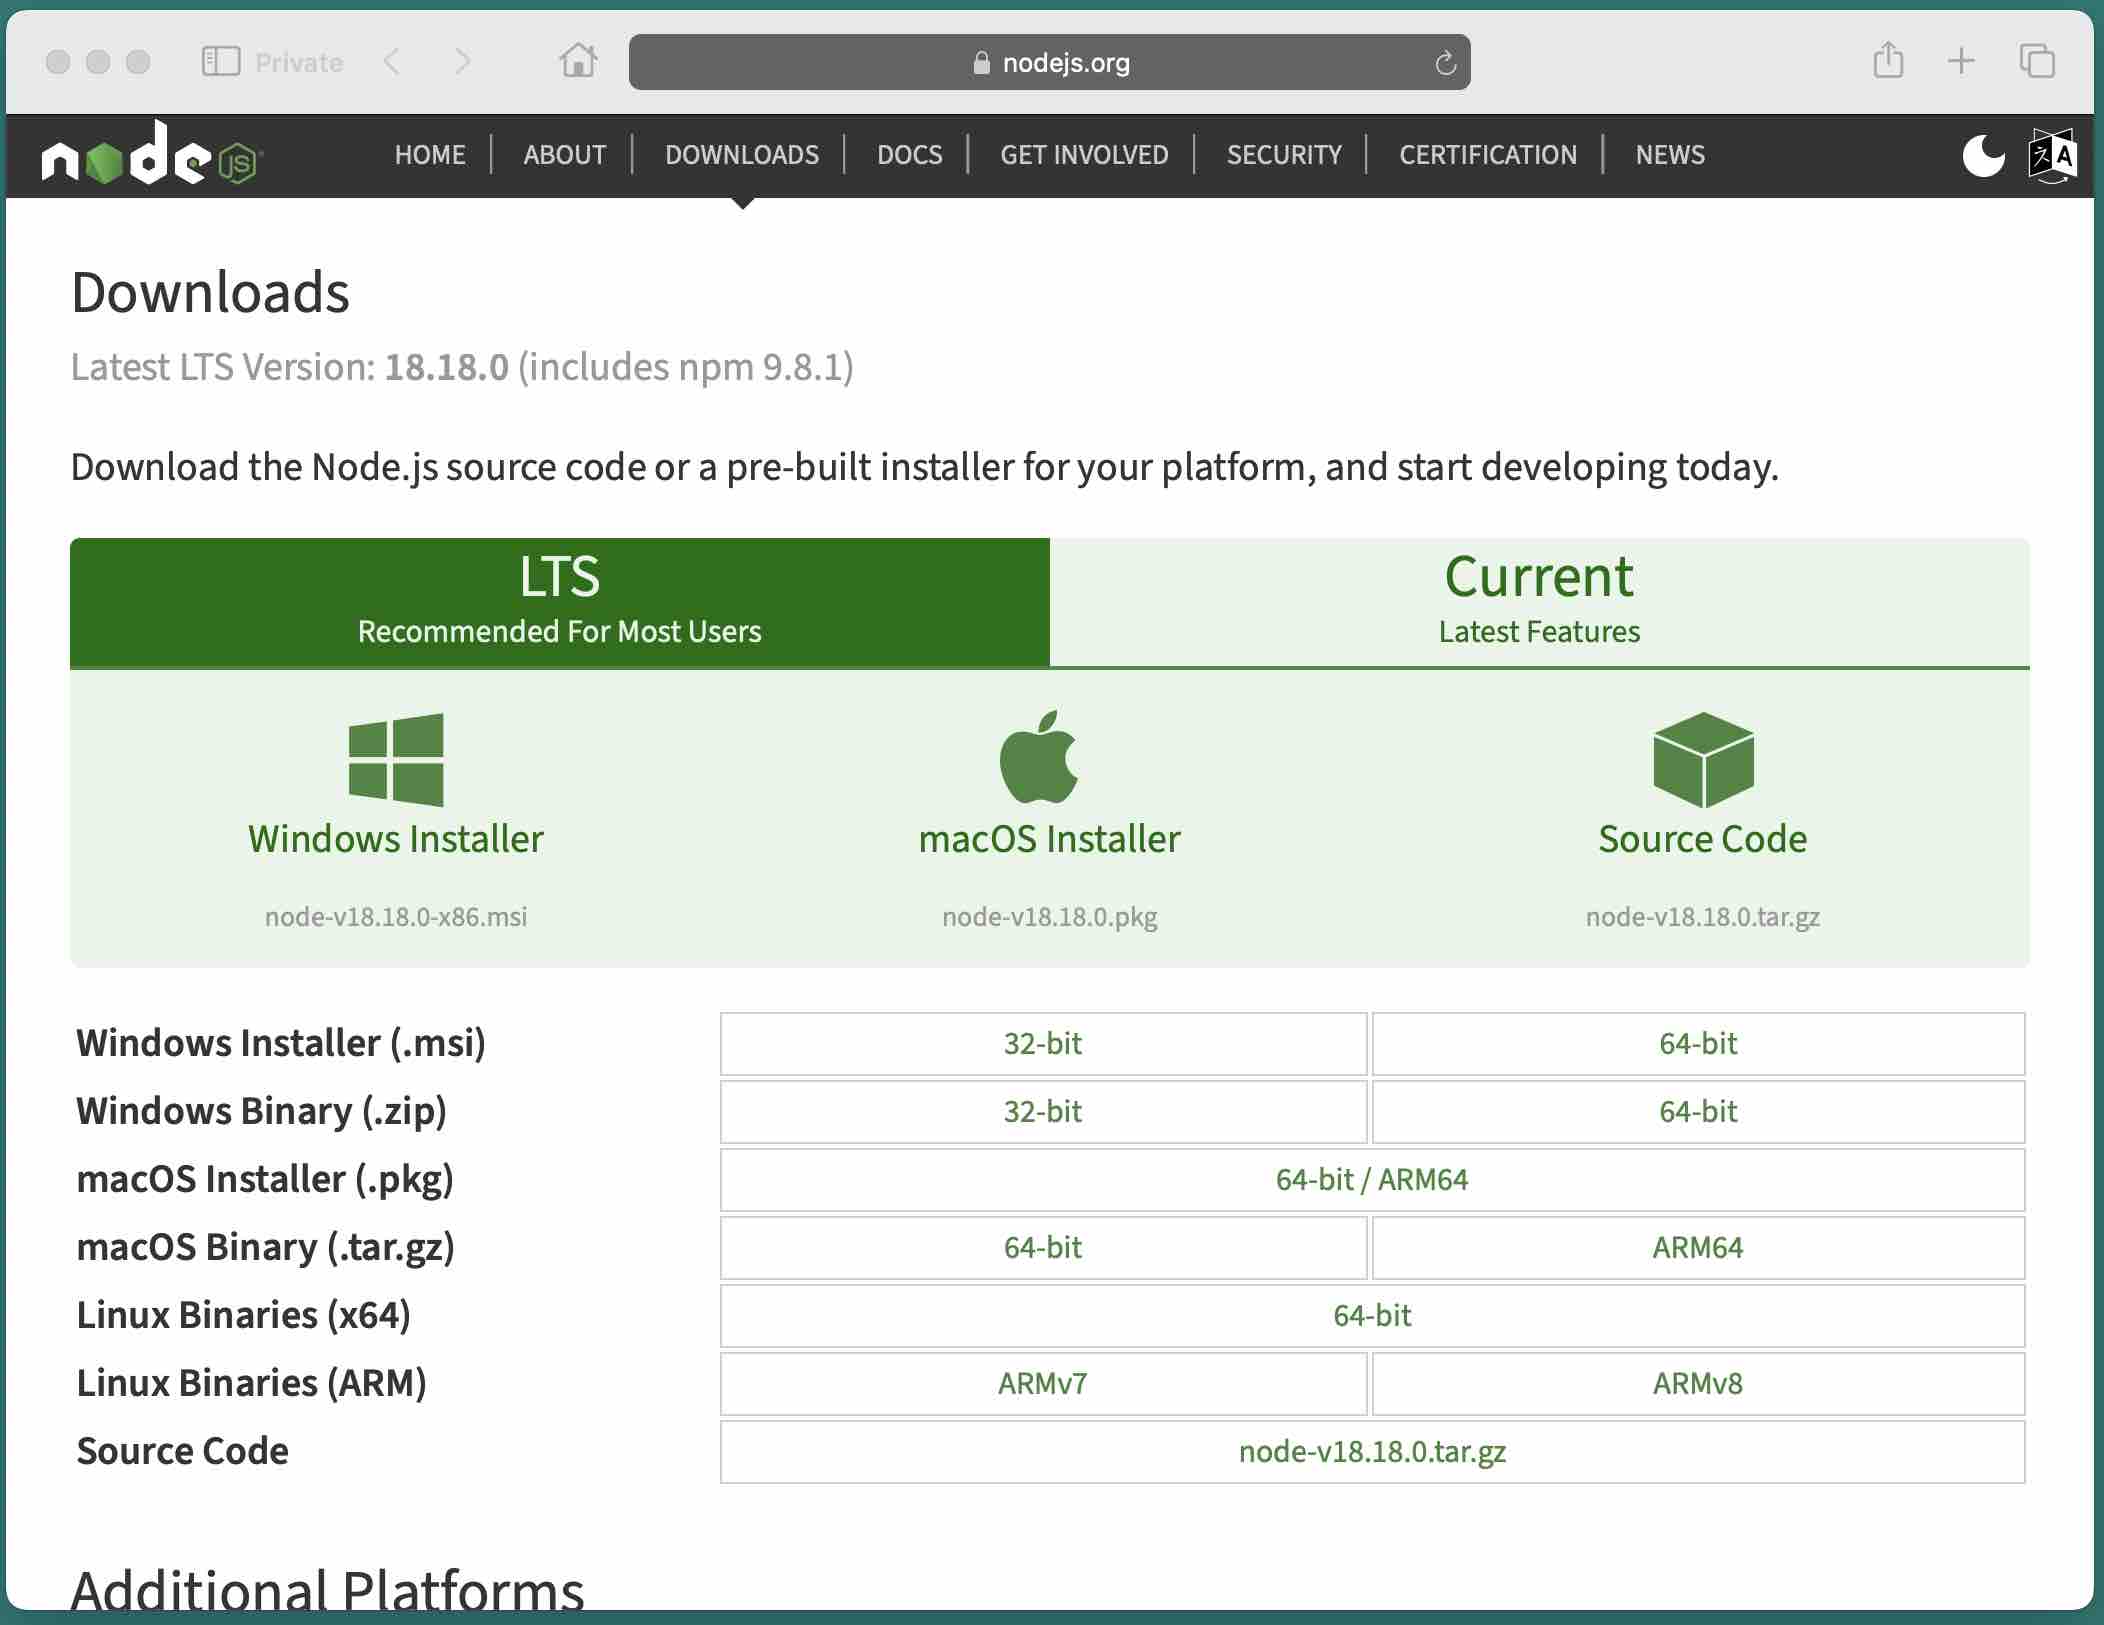
Step 1: Download the Windows Installer from
the Node.js website.
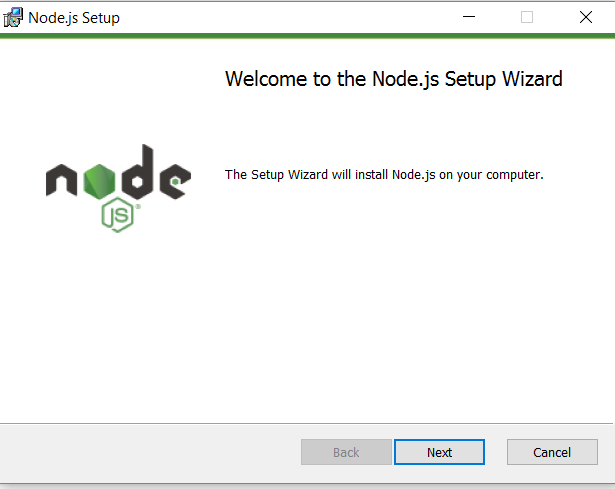
Step 2: Double-click on the installer.
Step 3: Choose the folder where you want node.js
installed. The default location should be fine.

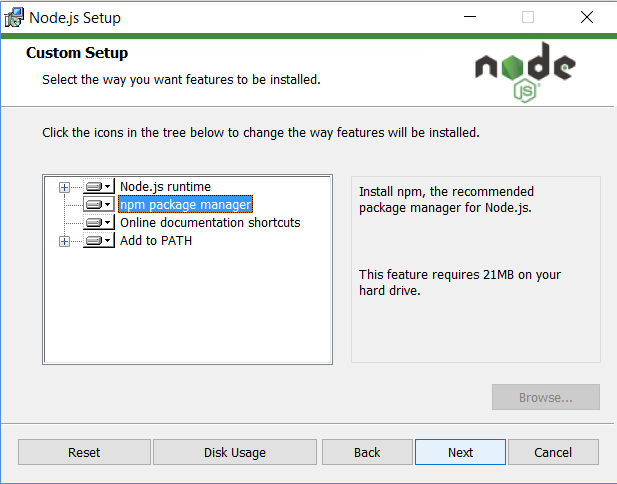
Step 4: On the next screen, choose
npm package manager.
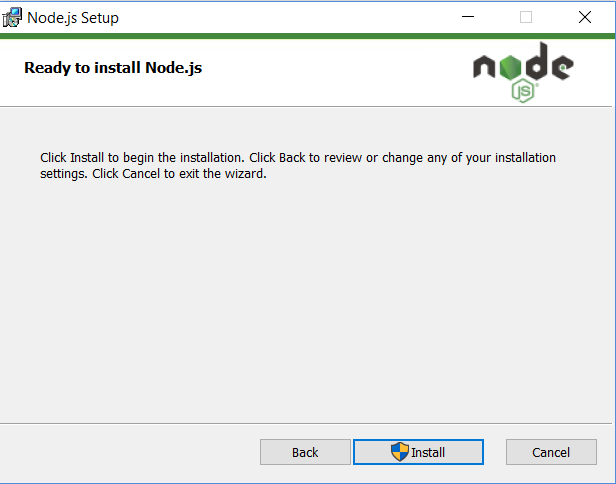
Step 5: On the next screen, choose
Install.
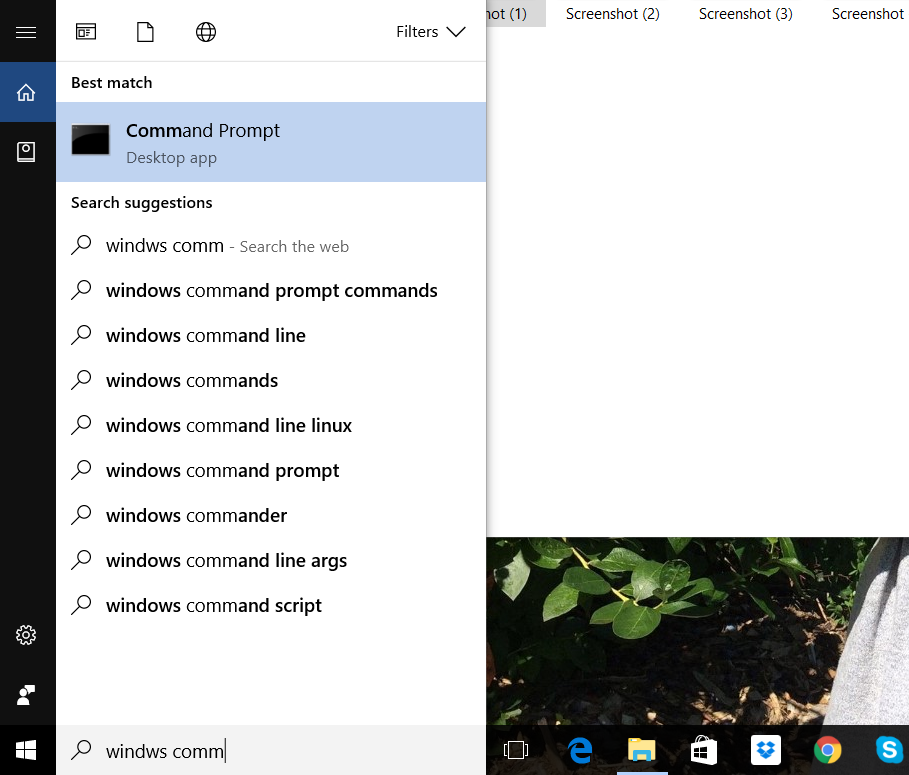
Step 6: Verify the installation. Open
Command Prompt from the Start menu or from search.
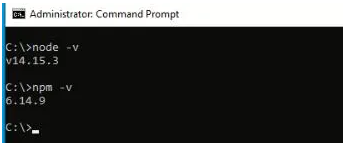
At the Command Prompt, enter node -v:
Installing on macOS
If you are a Mac user who has the
homebrew
package manager installed, you can install node.js with
brew install node. Otherwise, follow these
instructions.
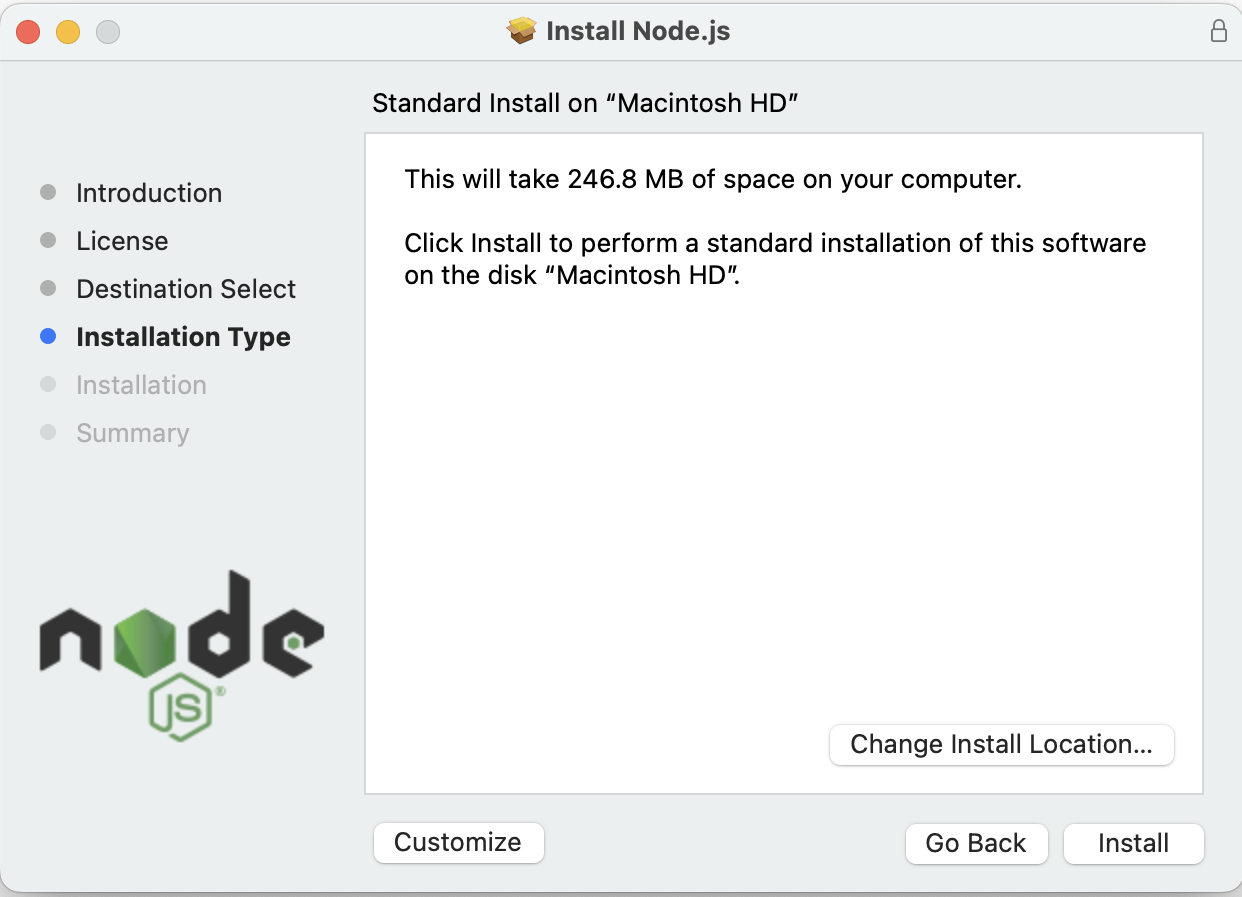
Step 1: Download the macOS Installer from
the Node.js website.
Step 2: Double-click on the installer.
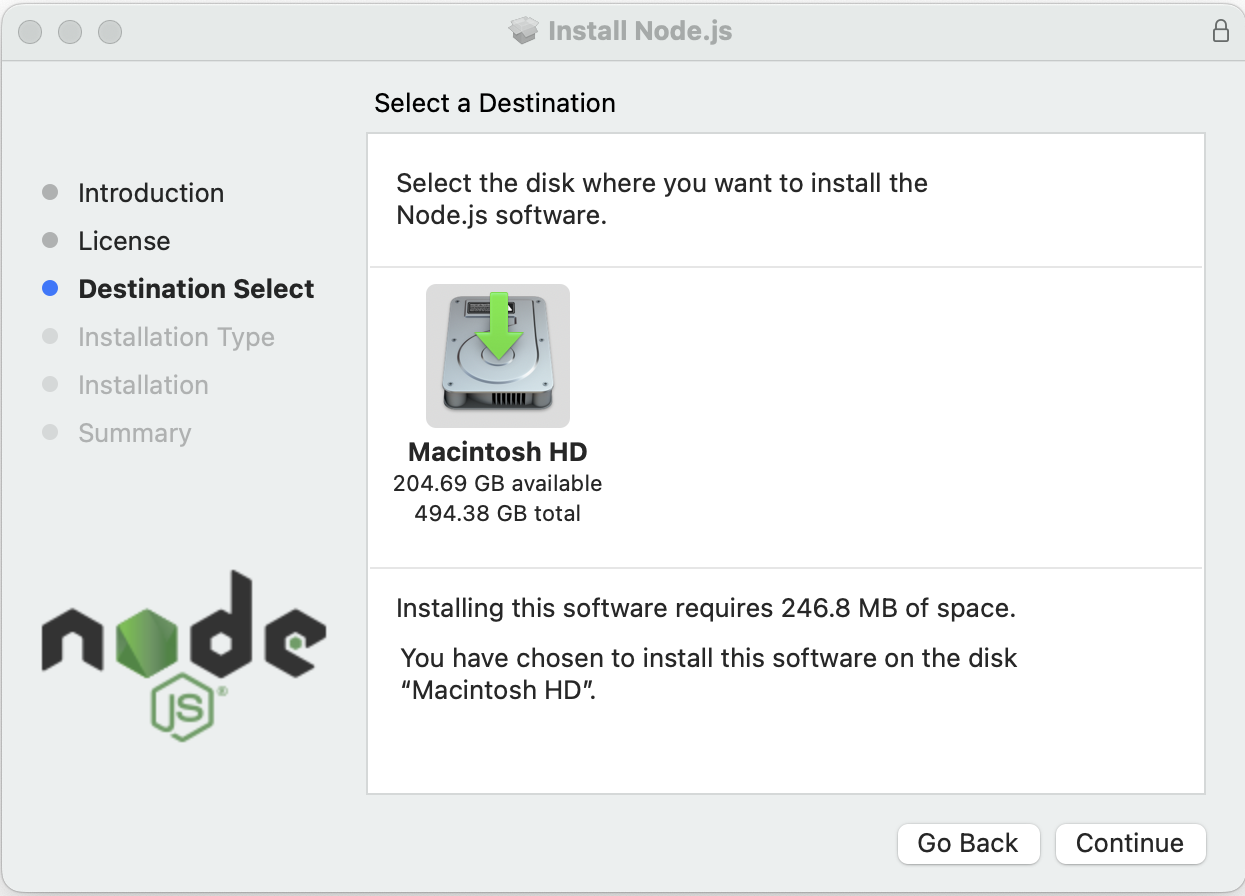
Step 3: Choose the folder where you want node.js
installed. The default location should be fine.
Step 4: On the next screen, choose
Install.
Step 5: Make sure that other programs can find
Node.js by adding it to your path. Open the Terminal application
from the Utilities folder. In Finder, you can use
shift + command + u to open Uilities.
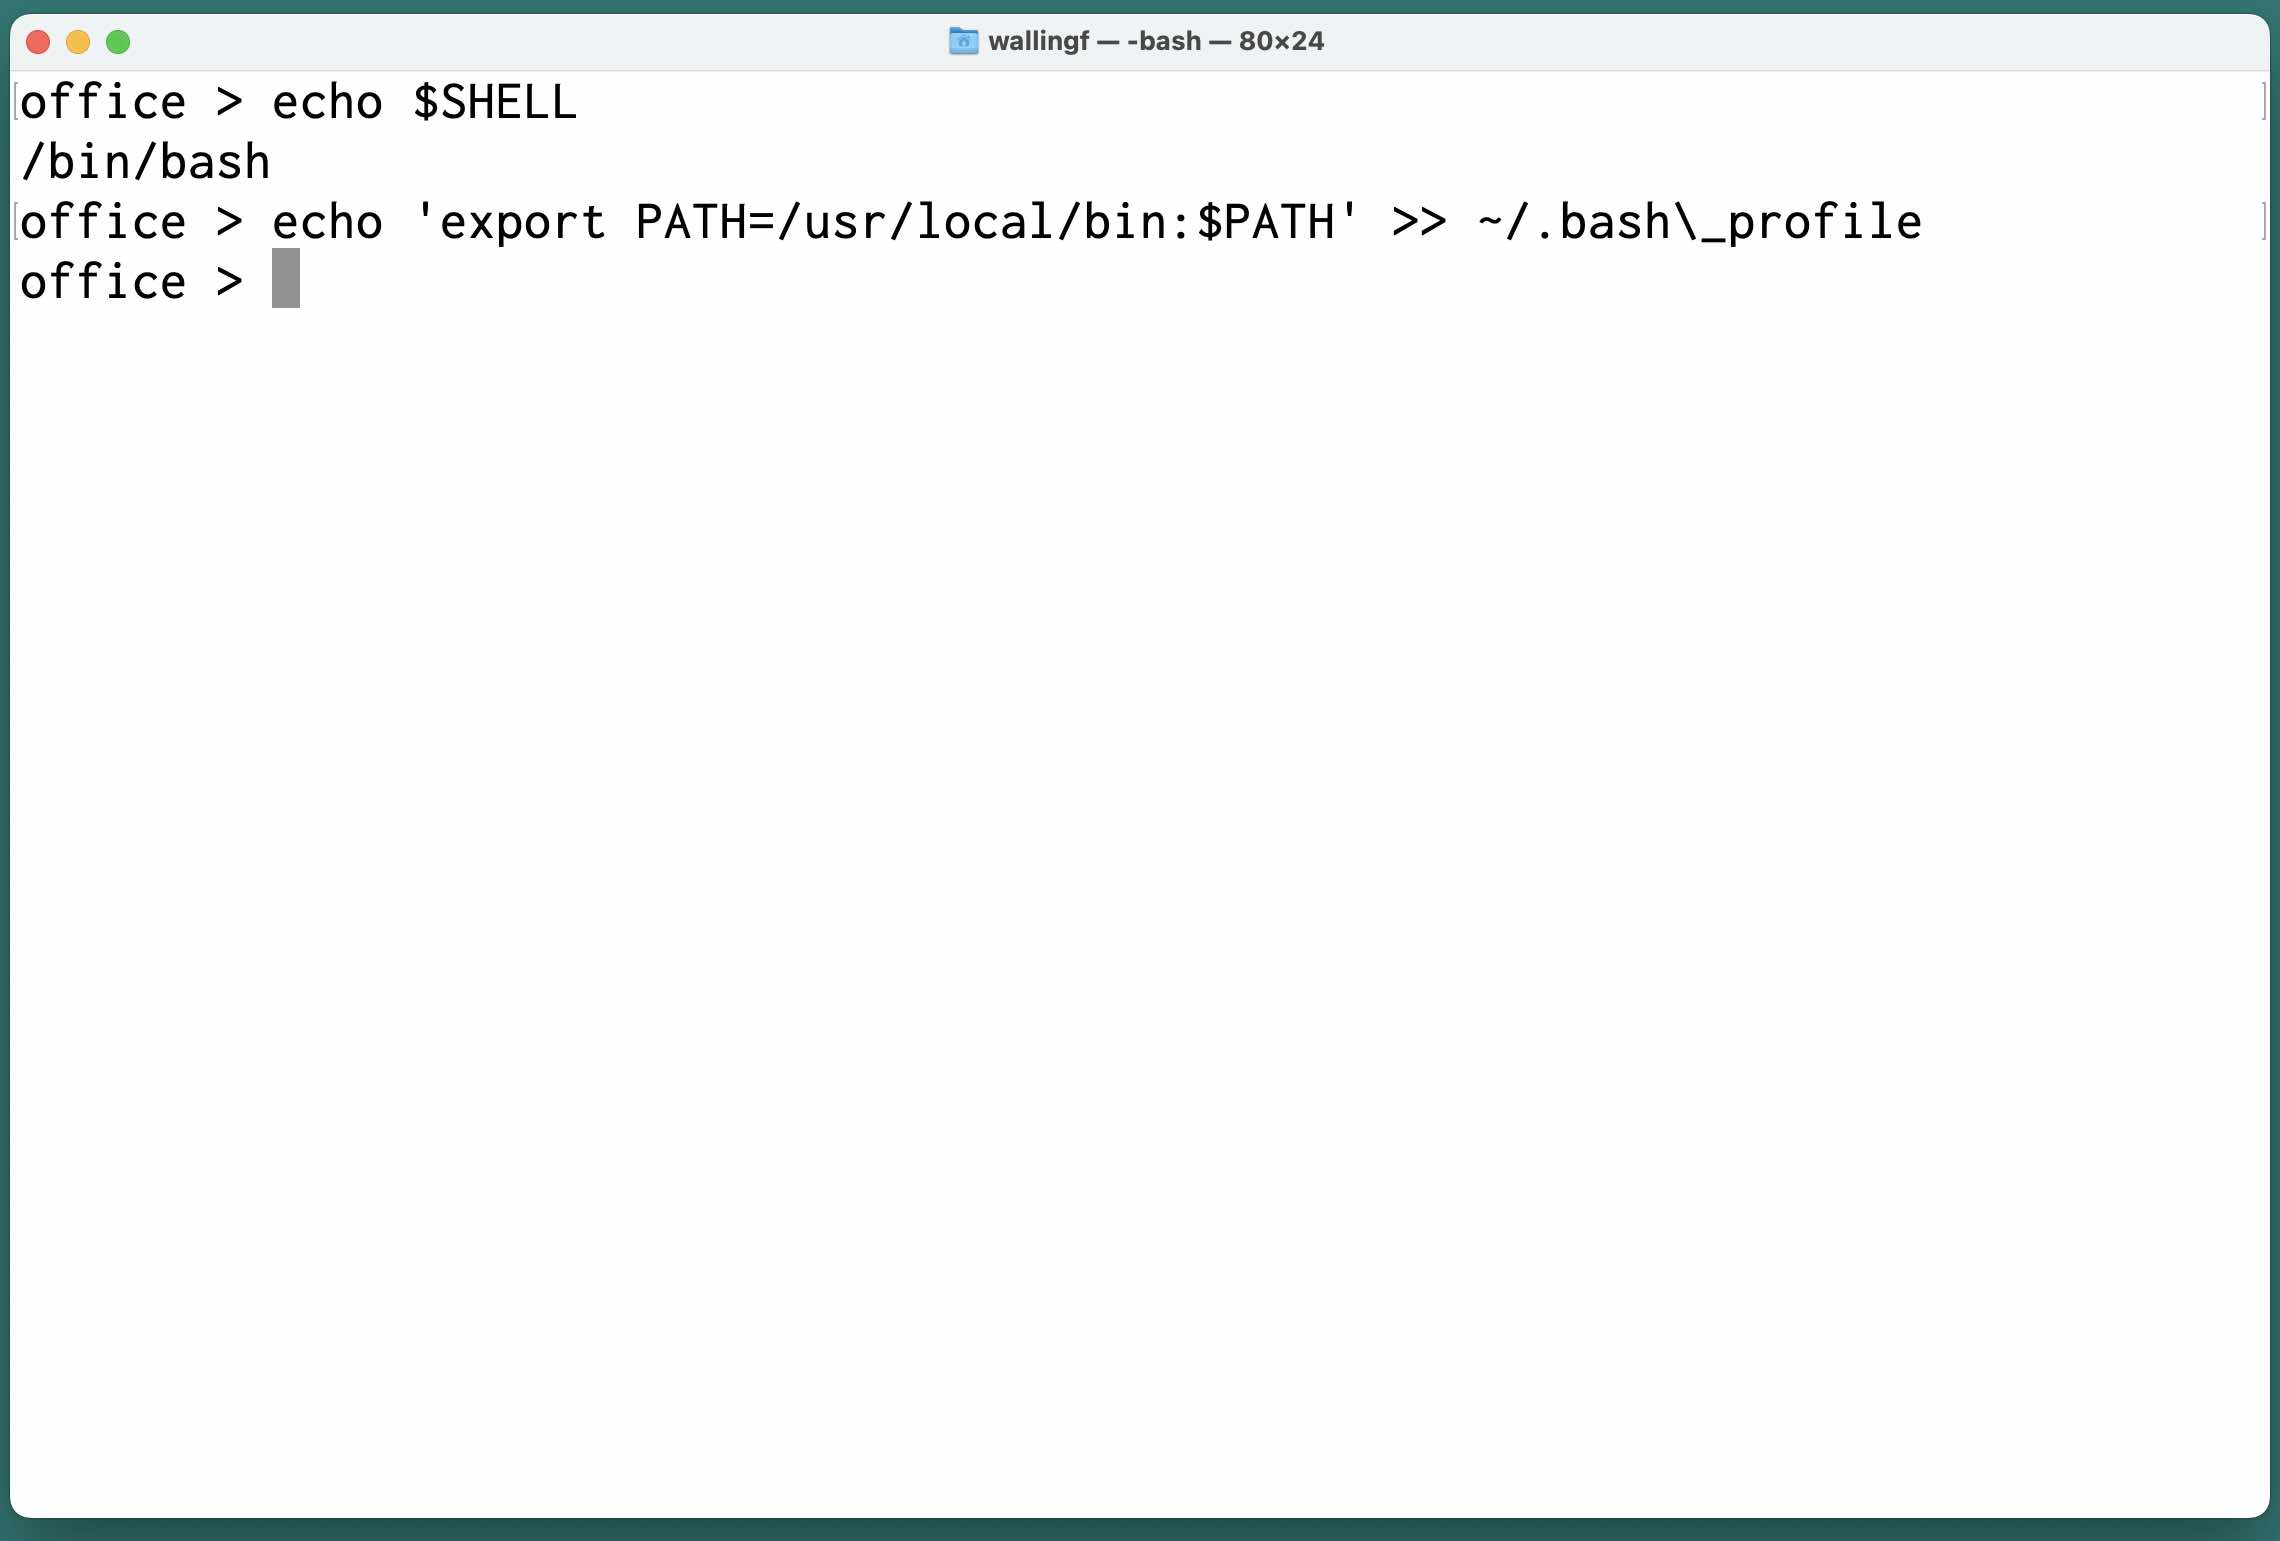
In Terminal, enter echo $SHELL. Depending on what you
see, do one of the following:
If you see /bin/bash,
enter
echo 'export PATH=/usr/local/bin:$PATH' >> ~/.bash\_profile
If you see /bin/zsh,
enter
echo 'export PATH=/usr/local/bin:$PATH' >> ~/.zshrc
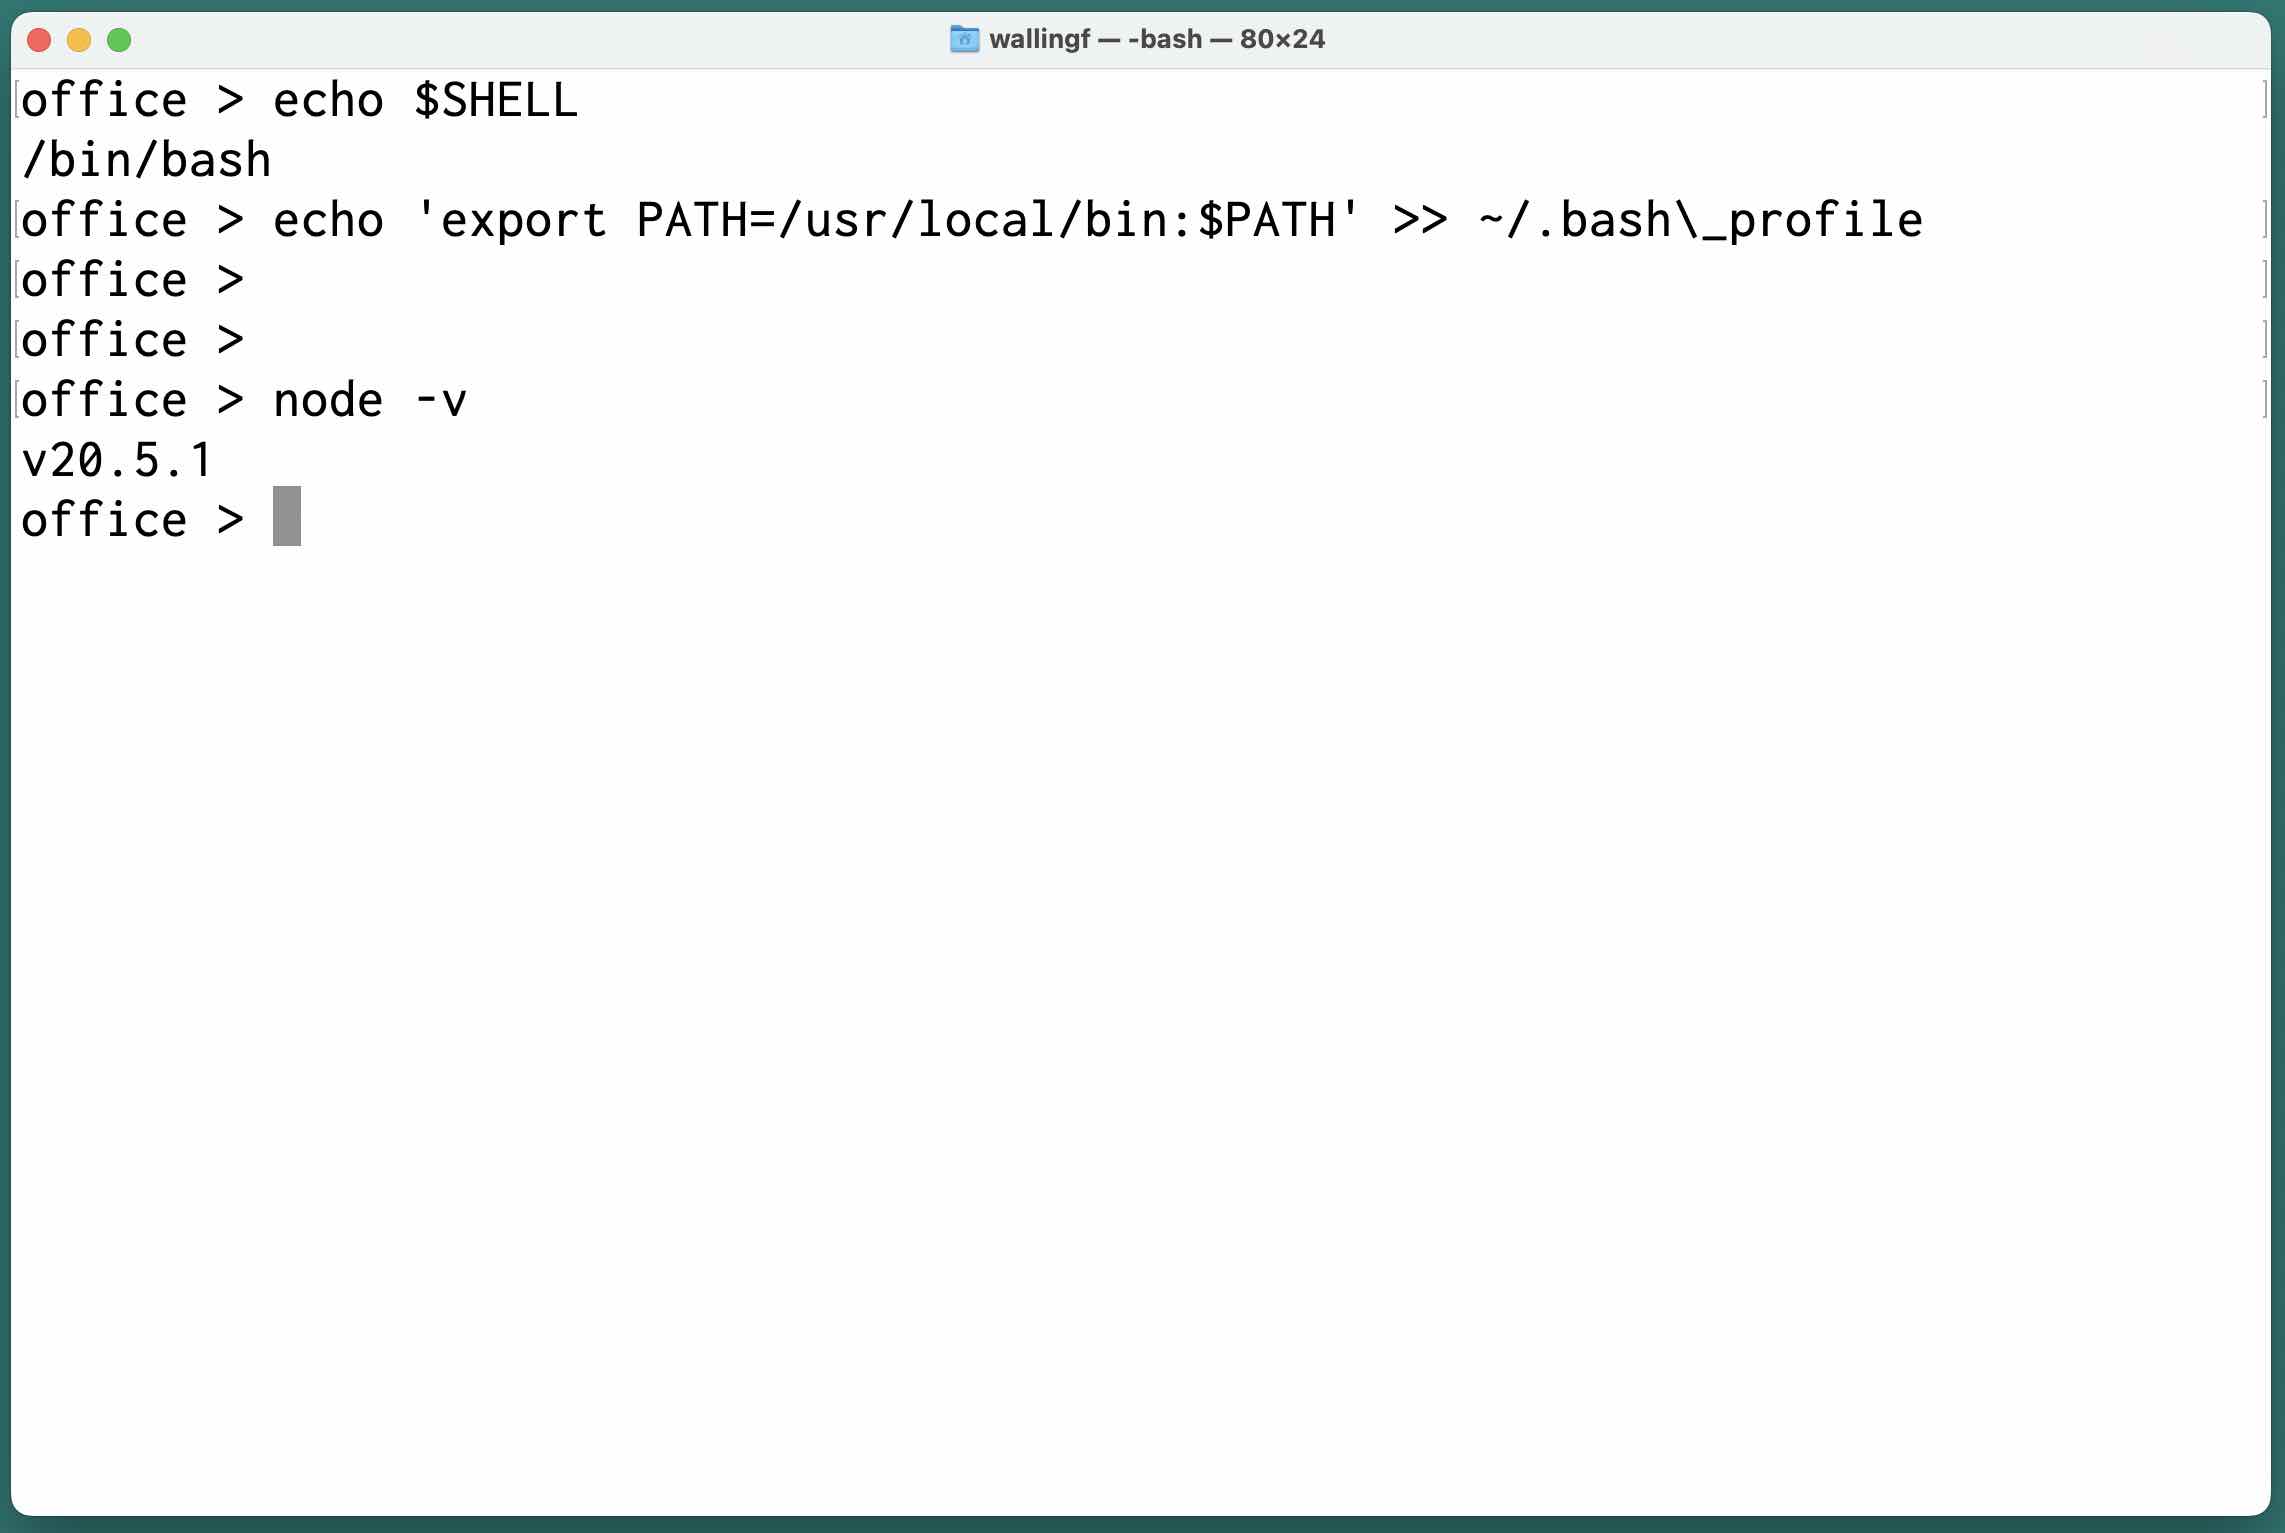
Step 6: Verify the installation.
At the prompt, enter node -v:
I adapted and simplified these instructions from this page at Radix.